Introduction
Getting Started
Welcome to Mobiplexus Pro Studio. Before your first session, ensure these prerequisites are in place.
Mission Checklist
- ✓ Developer Options enabled on Android device
- ✓ USB Debugging turned ON
- ✓ High-quality USB 3.0+ data cable
- ✓ Windows 10/11 (x64) with DirectX 11+
Quick Start
Connect in 3 Steps.
Unlock Device
Tap Build Number 7 times in About Phone.
Enable Debugging
Turn on USB Debugging and authorize your PC.
Launch Studio
Open Mobiplexus and click Connect to start mirroring.
Connection Protocols
The engine automatically detects your hardware using the Titanium Connection Bridge for both USB and Wireless sessions.
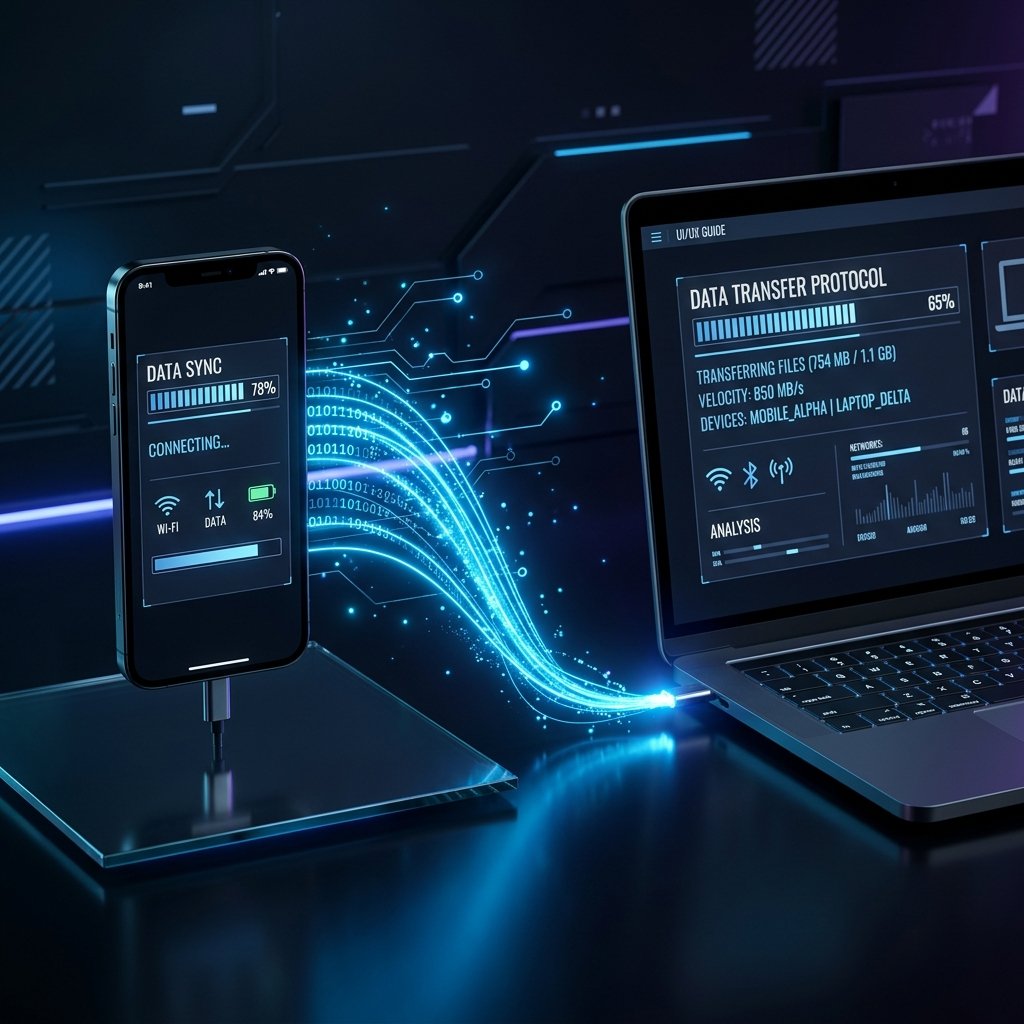
Visual Guide: USB and Pro Wireless Link setup
Enabling 60 FPS Mode
In Mirroring Settings, enable "High Precision Pipeline". You can verify your ADB connection via the built-in terminal:
$ adb devices
List of devices attached
ABC123XYZ device
Use Apollo Diagnostics (Ctrl + Shift + D) to recalibrate the buffer if you experience latency.
Apollo Diagnostic Wizard
The built-in Apollo Wizard can automatically resolve common connection issues:
- → Detects unauthorized device states (missing prompt)
- → Resets ADB daemon and clears driver conflicts
- → Closes conflicting ports from other tools like Android Studio
Platform Documentation
Core Installation
Deploy the Mobiplexus Desktop Client on your Windows machine. Ensure ADB environment variables are initialized for best performance.
Hardware Pairing
Connect your Android hardware via USB or Wireless ADB. The Interstellar engine will automatically detect and link the node to your PC.
Automation Macros
Use the integrated Macro Recorder to capture user gestures. Advanced users can manually script complex sequences using the Mobiplexus JSON API.
IP-Lock Protocol
Professional tiers are locked to your purchase IP. If you need to relocate your workstation, use the Reset IP tool in your Account Console.
Was this documentation helpful?
Help us improve our knowledge base.